The Cable You Can't Swap Later: Outdoor CCTV Wiring That Survives a British Year

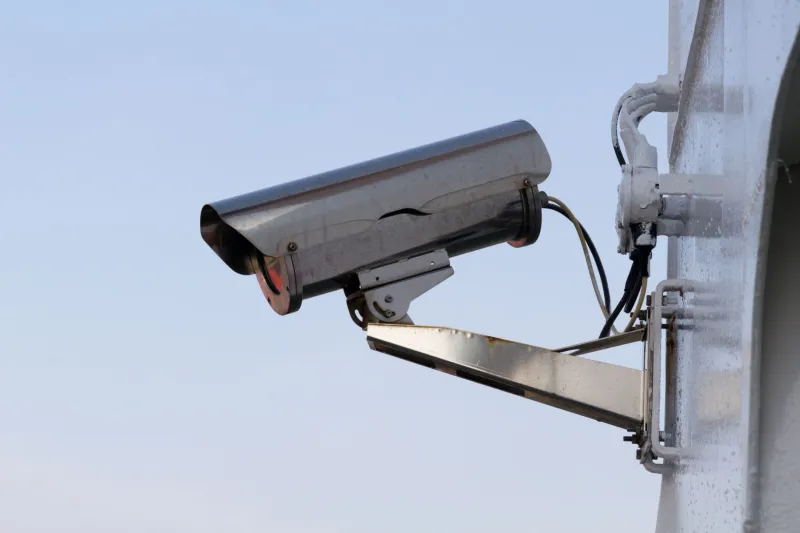
Photo by Photo by Siarhei Plashchynski on Unsplash on Unsplash
Most people choose a CCTV camera the way they choose a new phone: by looking at the box, the resolution and the price. Fair enough. But there's a less exciting decision sitting underneath all of that, and it's the one that will annoy you most if you get it wrong. The cable. Once it's clipped to a wall, buried under a path or pushed through a hole in the brickwork, it tends to stay there. You can upgrade a camera in an afternoon. Re-running cable is a different kind of project altogether.
Here at CMAC CCTV, we think outdoor wiring deserves at least as much thought as the camera itself. Not because it's glamorous, but because it's the part of the install that has to survive everything a British year can throw at it: sideways rain, frost, summer UV, greedy squirrels and the occasional overenthusiastic hedge trimmer.
The camera is the easy bit
A modern outdoor camera is largely plug-and-play once it has power and a network connection. The tricky part is getting those two things to the right place without creating a future fault. A dangling cable, a cheap connector or a run that's too long can make a perfectly good camera look broken. You'll get dropouts, foggy images, random reboots or a feed that disappears every time it rains. Those symptoms usually get blamed on the camera. Often it's the cable.
So before you drill anything, decide how the cable will get from the recorder or power source to the camera, and what it will be exposed to along the way. That one decision shapes everything else.
Power over Ethernet, or local power?
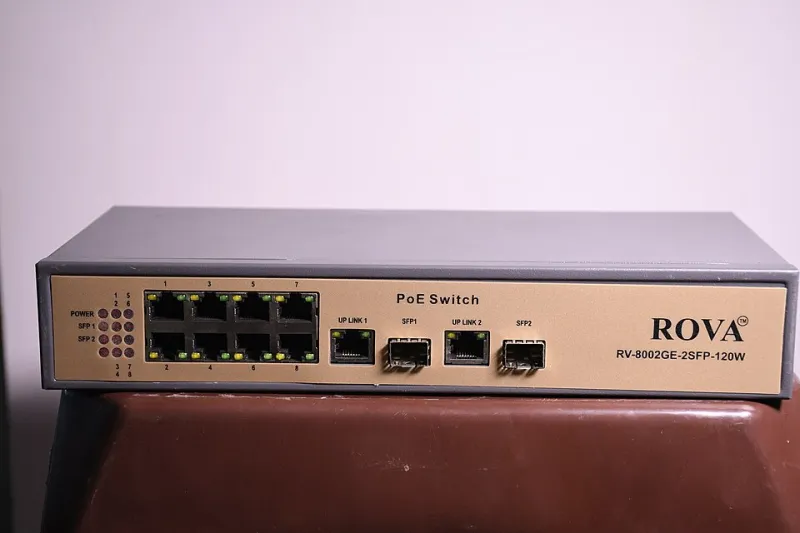
For most UK homes and small shops, Power over Ethernet is the neatest option. A single Ethernet cable carries both data and power from a PoE switch or NVR to the camera. That means one cable, one run, and no need for a mains socket up by the eaves. It's tidy, it's standard, and it keeps the mains side of things back at the consumer unit where it belongs.
The catch is distance and power budget. Standard Ethernet has a practical channel limit of around 100 metres, and that includes patch leads and joints. PoE also has a power budget, so check whether your camera wants 802.3af or the higher 802.3at standard. A big PTZ with heaters and a spotlight may need more than a basic PoE port can give.
Local power is the older arrangement: a separate 12V DC supply near the camera, plus a data cable if it's an IP camera. It can work well, especially where a mains socket already exists in a loft or outbuilding. But low-voltage DC doesn't travel as far as people assume. Voltage drop over a long, thin cable can leave a camera underpowered, which shows up as unreliable night-time behaviour or a camera that reboots when the IR LEDs kick in. If you go down this route, use a decent gauge of cable, keep the run short, and don't be tempted by the thinnest stuff on the shelf.
Distance is not a suggestion
Ethernet's 100-metre limit is a design limit, not a challenge. If you need to go further, use a fibre run, a network switch partway along, or a properly designed point-to-point wireless link. Don't just add a cheap inline joiner and hope. Joints are where water and signal problems get in.
For 12V cameras, do the maths on voltage drop before you buy cable. A long run with a small conductor will lose voltage, and the camera may only misbehave when it's working hardest. That's usually at night, which is exactly when you want it to be reliable.
One more thing: avoid copper-clad aluminium cable if you can. It's cheaper for a reason. For a permanent outdoor install, solid copper is the safer bet.
Cable that lives outdoors
Not all cable is happy outside. Ordinary indoor PVC can go brittle with UV and cold, and the sheath can crack around clips and bends. Look for external-grade cable with UV-resistant insulation. If it's going underground, use gel-filled or suitably rated buried cable, ideally inside conduit. If it's running down a wall where it could be knocked, armoured cable or heavy conduit is worth considering.
A drip loop is a small detail that saves a lot of grief. Before the cable enters a connector or a hole in the wall, give it a gentle downward loop so water runs off rather than tracking straight into the joint. It looks slightly untidy for about five minutes. It's worth it.
Connectors are the weak link
A waterproof camera with a non-waterproof connector is not a waterproof installation. Standard RJ45 plugs are not designed to sit outside in the rain. Use an IP68-rated junction box, gel-filled connectors or a proper weatherproof coupler, and seal the entry point into the wall. Self-amalgamating tape can help, but it's not a substitute for doing the joint properly in the first place.
Also think about where the connector sits. Under the eaves is better than halfway down a wall. Inside an adaptable box is better than dangling in a flower bed. Leave a small service loop so the camera can be removed or adjusted without cutting the cable.
Routing around a UK property
Keep signal cables away from mains where you can. Not because they'll instantly explode, but because mains can introduce interference and because you don't want anyone drilling through a hidden cable later. If mains power is involved at all, use a qualified electrician and check whether the work needs to be notified under Part P. That's not a job for a YouTube tutorial and a hopeful expression.
Avoid routing through cavity walls in ways that bridge damp courses, and don't drill through expansion joints or lintels without thinking. Keep cables away from gutters, downpipes and anywhere a ladder might land. If you're burying cable, use conduit, keep it deep enough to avoid garden forks, and mark the route so future you doesn't find it with a spade.
The decisions you make once
Plan the camera positions first, then the recorder or switch location, then the routes between them. Label both ends of every cable. Test the whole run before you clip it permanently into place. Leave a little slack at each end, but not a coil of shame behind the soffit.
A good cable install is boring. It's tucked away, properly supported, sealed at the entries and rated for the weather. That's the point. The camera will get the attention, but the cable is what keeps it working through the frost, the rain and the long dark afternoons. Get it right once and you can forget about it. Get it wrong and you'll be reminded every time the weather turns.